Help about the Retina Applet
Table of contents
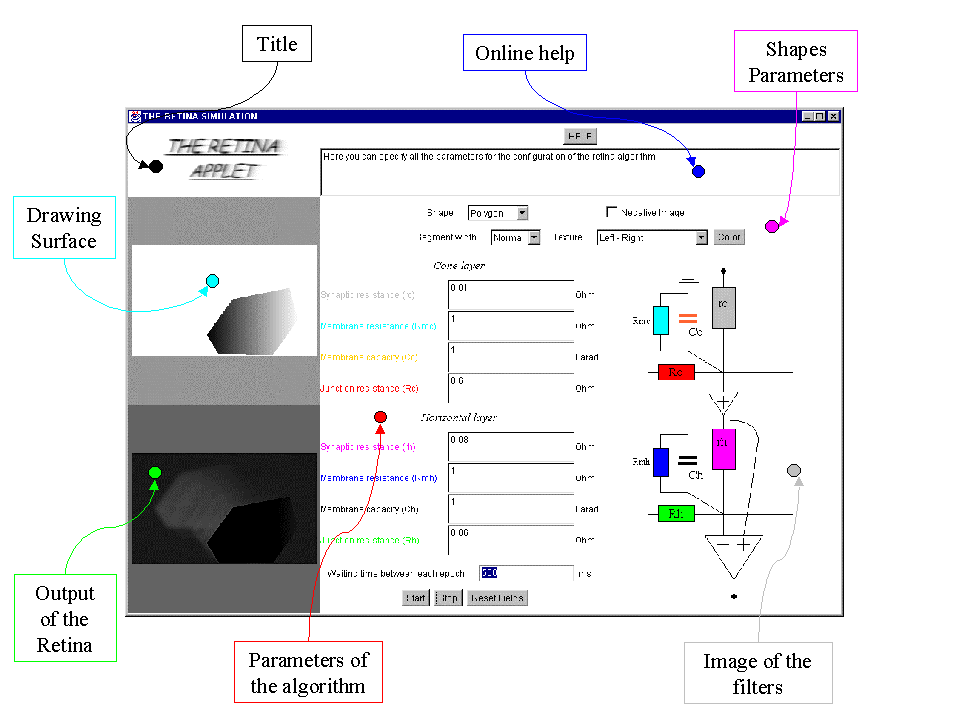
Short description of the environment
Let's have a look at the applet:
Just the title.
In the text area you can see help on what you are pointing at with the mouse. The help button displays this html page.
In this panel you can choose your shape (rectangle, circle, polygon), its segment width, its texture or color. The "negative image" checkbox allow you to see the negative image of the output of the retina.
On this surface you can draw the shape you chose in the shape parameters panel. To draw the different shape follow the instructions in the text area. When the application has started, you can move the shapes.
On this surface you can see the output of the retina algorithm with the above input.
Here you can specify all the parameters needed for the algorithm. You can see what the different fields correspond to by having a look at the images of the filters. In this panel you can start the simulation, stop it and reset all the fields.
This image represents the internal structure of the algorithm.
If you want to learn more about these areas just go to the precise description section.
How to use the applet in 2 minutes
If you want to see the result of the retina applet without spending time choosing the right parameters follow these intructions:
The different areas: Precise description and examples
If you aren't familiar with the applet please read this and try the first example.
Once you have done all that, you can read the following description of the differents areas.
This is the title of the applet. There is nothing special to say about it.
There are two components in this area: A button and a text area.
If you click on the button, you just display this page.
In the text area you can see helpful messages:
If you aren't familiar with the applet, you must look at the help area. Otherwise you won't understand why the applet doesn't do what you want.
In this area you can choose the shape that you are going to draw in the drawing area. You can see that there are 4 parameters:
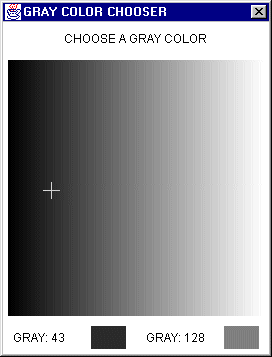
The texture you apply on the shape is the last one you chose. For example, if you choose the "Left-Right" texture and after that you open the "gray color chooser" window then the texture you choose is a uniform "128" gray color because the applet takes into account the last thing you do. Otherwise, if you open the "gray color chooser" window and you click on the "100" gray uniform color and after that you specify the "None" texture, then the texture choosen is "None".
If you are creating shapes in the drawing surface area or if you are simulating, the shape parameters area disables itself. It enables itself again when you have finished creating your shape or when you finish the simulation.
This is the area in which you can draw shapes (if you are not simulating) or where you can move them (if you are simulating).
For drawing a rectangle:
For drawing a polygon:
For drawing a circle:
You can create as many shapes as you want, but remember that the more shapes the slower the applet is.
When you are creating the shapes, you must finish them before starting the simulation. If you try to start the simulation without having finished creating your shapes an error message will appear in the online help area.
When the simulation is started then you can move the shapes you've just created. To do that click on the shape you want to move and then only move the mouse (without keeping the button pressed down). The shape will follow the mouse. If you have multiple shapes overlopping then when you click, the applet chooses first the circle, then the rectangle, and finally the polygon. If you have multiple shapes of the same type then when you click, the applet chooses the first one that was created.
When you want to erase the surface, just click with the right mouse button on it.
The Parameters of the Algorithm area:
In this area you can specify all the parameters for the algorithm. The differents fields correspond to the image on the right of the area. You can see that there are two layer, the cone layer and the horizontal layer. If you want to change one of the fields just click on it and put in a value for it (the different values allowed are float, integer, long and double). You can't change the fields when you are simulating.
If you specified some bad parameters (value equal to or below zero), an error message will appear in the online help area. If you want to see a correct output, you must specify the parameters in the range that is given in the online help area. If you don't then you will probably see some strange output because of numerical instability.
The last textfield ("Waiting time between each epoch") is here to slow the applet. If you have a very fast machine and you canÆt see the output of the retina because it's too fast then you can specify in this textfield the time (in milliseconds) the algorithm will sleep between each loop. You can also use this parameter to better see what the algorithme does.
At the bottom of the applet you can see three buttons: "Start", "Stop" and "Reset Fields". The "Start" button starts the algorithm with the specified parameters. When you have clicked on it, you can move the shapes you've just created in the drawing surface area. You can only do that, all the fields in the applet are disabled, except the "Stop" button. When you click on this last button, then the simulation stops and you can draw shapes and enter others parameter. If you hit on the "Reset Fields" button then the fields of the algorithm are set with such values that you can see a good result on the output of the retina.
The Output of the Retina area:
In this area you can see the output of the retina algorithm. If you checked "Negative Image" in the shape parameters area then the darker the pixels are, the more the neurons are stimulated. If you didn't check it then it is the reverse.
If you see some strange results, this is probably due to numerical instability. Just put in the parameters area fields that suit well.
The image of the filters area:
In this area you can see what the algorithm of the retina is based on. The output pixel is calculated with two RC filters and with the influence of its neigbourhood. The value of each pixels depends on the value of the others.
I use "Netscape" and I have no images nor the help button:
Well for the images, this is due to a bug of "netscape" with its media tracker. For the help button this is due to the hard security of "netscape". Sorry but you just can't see the images and the help.
I use "Netscape" and when I use the applet, it is very very slow:
This is due to netscape or to your slow machine.
Solutions:
If you have questions or bugs to report then mail me.